I’ve always enjoyed homemade butter. In our modern world of convenience and pre-packaged foods, there’s something special about transforming cream into golden, creamy butter with my own hands. It connects me to food traditions that span generations and delivers a flavor that simply can’t be matched by store-bought alternatives.
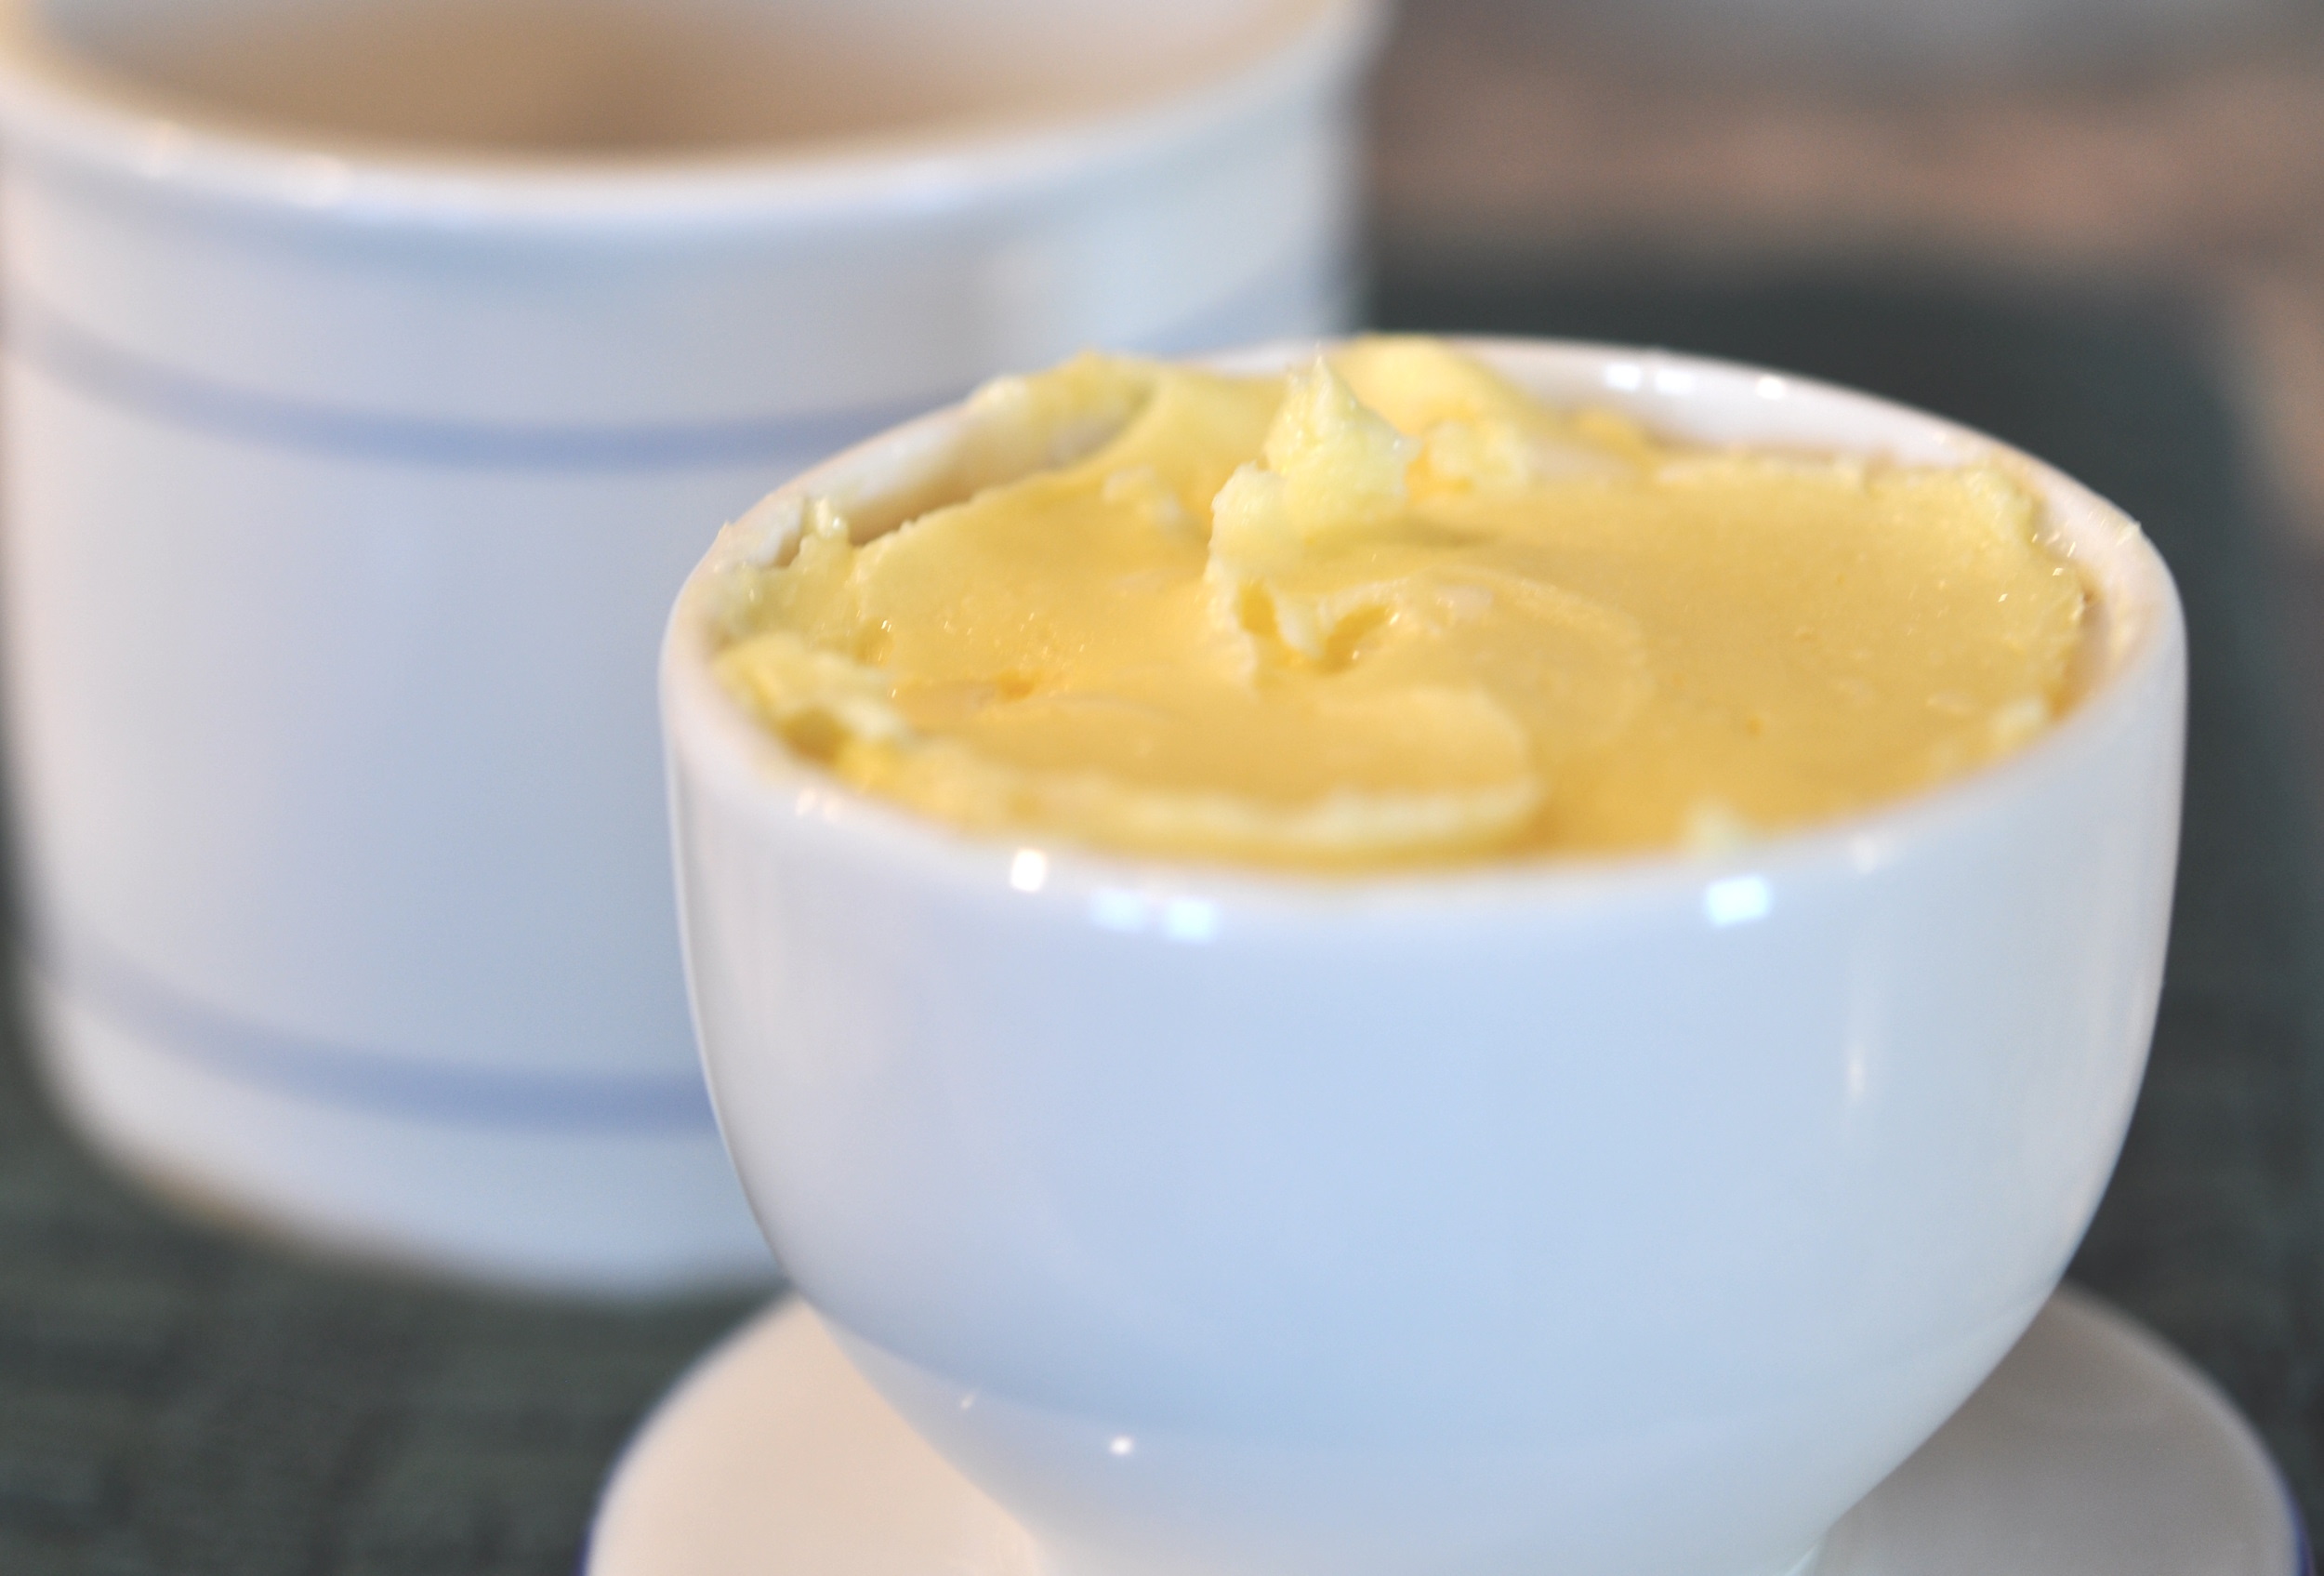
Let me share my experiences making butter at home, along with practical tips I’ve learned along the way. Whether you’re looking to try something new in the kitchen or wanting to reconnect with traditional food practices, I hope I can inspire you to give homemade butter a try.
My Butter-Making Story
From Cream to Butter
The cows have dropped their milk, but this week, I had extra. So, I am excited to skim the cream and make butter. With the skimmed milk, I will make yogurt. If you have never made these items, they are easy-peasy. Let’s start with butter.
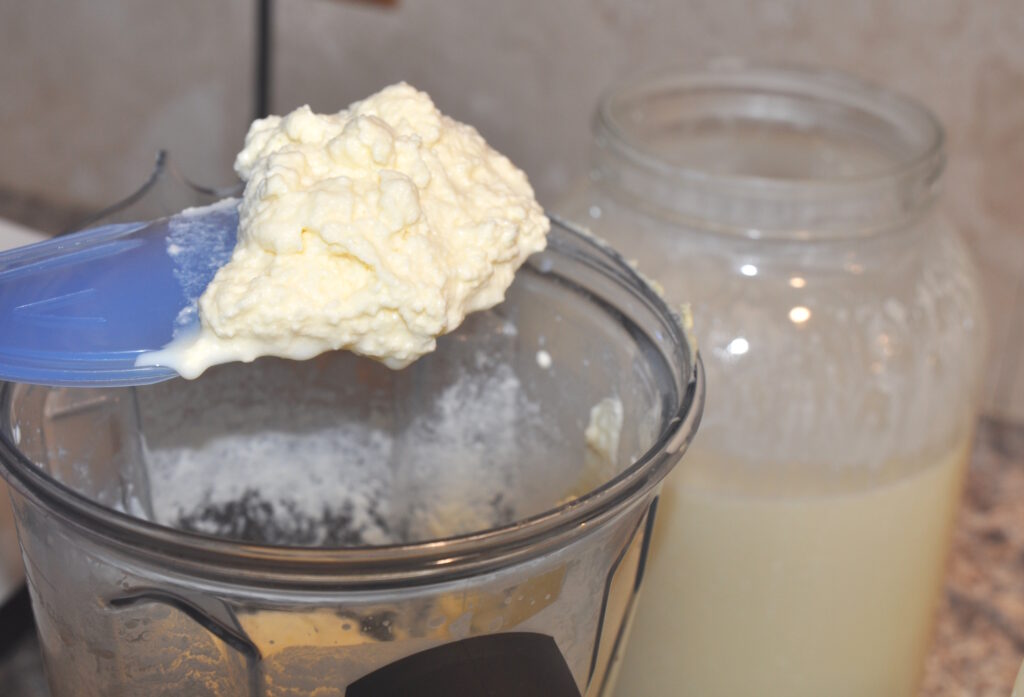
I have found that a high-speed blender or food processor yields the best results. Fill the container with about two cups of cream and turn it on high. You will need to watch carefully. When it becomes thick, the milk level will drop. Then, it will quickly begin to separate the butterfat from the buttermilk. The milk then rises back up, higher than it was originally.

Growing up, we used a food processor. It would take about 7-10 minutes, and if we were not on top of it, listening for the change in the sound of the motor, it would leak out around the lid and make a mess. I now have a high-powered blender, which is sealed to prevent buttermilk from escaping. The other thing I love about the blender is that it only takes about 1-2 minutes to make butter versus the 10 minutes in the food processor—much faster than shaking the cream in a quart jar, which takes anywhere from 30-50 minutes, depending on how much shaking is going on.
Washing and Storing
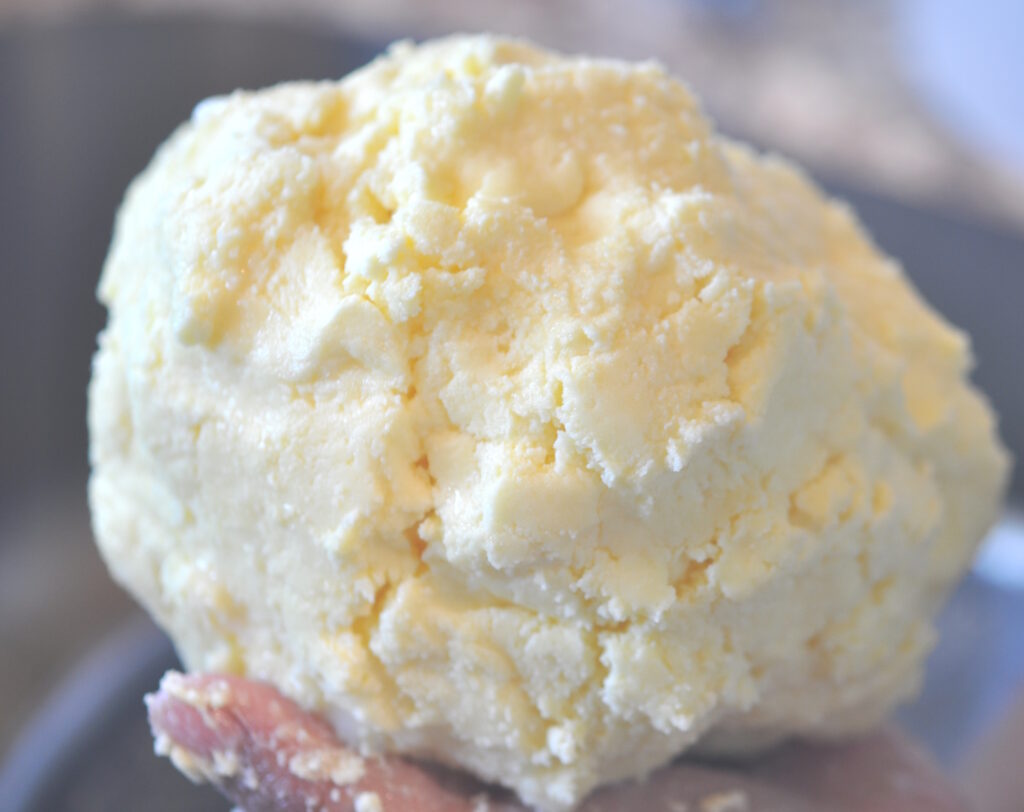
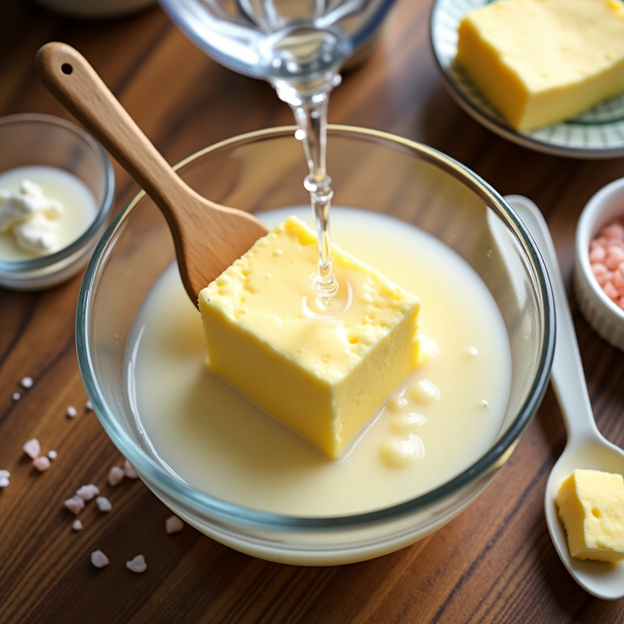
Once the butterfat is separated from the buttermilk, place the butter into a bowl. Using cold water, wash your butter. The more buttermilk you remove, the longer your butter will last. I change the whitish water several times until it is mostly clear, with very little buttermilk washing off the butter.
Lightly salt with Himalayan or sea salt. After folding the salt into the butter, I do a taste test to see if more is necessary. Then, I pat the fresh, sweet butter into a clean crock or glass container.
Butter will spoil if left out on the counter too long. In the winter, I leave it on the counter during the day and put it away at night. In the summer, it doesn’t last as long, so I keep it in a glass butter holder or crock sealed by water. If the temperature in your house gets too warm, the butter may slip out of the inverted container and float in the water. Just pat it back into the butter holder and set it in the fridge for a few minutes to harden slightly. I usually put fresh, cold water into the receptacle.
What Happens When Cream Becomes Butter
It is amazing what actually happens when cream transforms into butter. The fat molecules in the cream collide and stick together when it is agitated.
From my observation, the process unfolds in three distinct phases:
- Thickening: The cream thickens as I whip it. This is the same stage as making whipped cream for desserts, but I keep going. The fat globules start to break down their protective membranes.
- Transformation Moment: Continuing to whip or churn causes the fat to separate from the liquid. I can actually see this happening in my clear blender container. This is when cream turns into butter and buttermilk.
- Formation of Butter: The fat clumps together into a solid mass. I work the butter under cold water, watching as the remaining buttermilk washes away.
I find this process remarkable every time I witness it. It’s a simple reaction, but the results are extraordinary. Seeing cream evolve into golden butter connects me to generations of people who performed this same task long before modern conveniences.
My Essential Tools for Butter-Making
Over the years, I’ve tried various methods and tools for making butter. I have attempted using my stand mixer for larger batches, but have not been satisfactorily successful with it. Though the mixer uses minimal effort, it can take over an hour to get to the point of butter. Occasionally, I use a quart mason jar when I want to share a science activity and involve children in the process—they love taking turns shaking. So, here’s what I keep on hand:
For equipment, I rely on:
- A high-quality blender that speeds up the process considerably.
- A fine mesh or plastic sieve for straining out the buttermilk.
- A rubber spatula for working and shaping the butter.
- A large bowl of ice water for rinsing.
For ingredients, I’m particular about:
- Heavy cream—I skim it directly from the jar. The flavor is incomparable.
- Sea salt—just a pinch enhances the butter’s natural flavor.
- Fresh herbs from the garden to create something for a special occasion.
Having the right tools makes all the difference in achieving silky-smooth butter. Traditional wooden churns were used in the past, and while they required dedication, modern conveniences make the process more accessible.
My Favorite Methods for Making Butter
I’ve developed several approaches to butter-making, each with its own advantages:
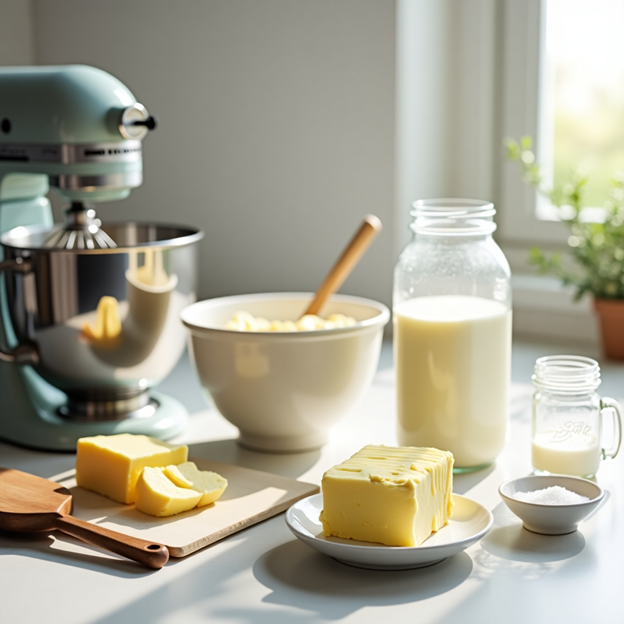
Using my stand mixer: I start with cold heavy cream in the bowl and use the whisk attachment. Medium speed turns it into whipped cream, and by the 4-5 minute mark, I hear the buttermilk separate. A quick speed reduction prevents splattering before I strain and rinse the butter.
My blender technique: A game-changer. I fill it halfway with cold cream, pulse a few times, then blend. Within 1-2 minutes, the buttermilk separates. The clear blender walls let me watch the transformation—oddly satisfying. Strain, rinse, done.
The mason jar method: The simplest, most hands-on approach. Fill a jar halfway with cream, secure the lid, and shake for 15-20 minutes. The sudden resistance shift signals it’s ready. Great for demonstrations and a fun, interactive way to experience butter-making.
Each method yields delicious butter. The stand mixer is my go-to for efficiency, the blender for speed, and the mason jar for a hands-on, old-fashioned feel.
My Tips for Perfect Butter Every Time
After years of making butter weekly, I’ve picked up a few tricks:
- Temperature matters: I always start with well-chilled cream straight from the refrigerator. If my kitchen is warm, I sometimes chill the mixing bowl first.
- The rinse test: I rinse butter until the water runs completely clear—usually 3-4 changes of cold water. This thoroughness pays off with butter that lasts much longer without turning rancid.
- Salt timing: I add salt after rinsing, not before. This way, I don’t lose any seasoning in the washing process.
- The ice bath trick: When summer temperatures make butter soft and difficult to handle, I plunge it into ice water for a few minutes before final shaping.
- The butter paddle: I invested in a wooden butter paddle that helps expel excess water and creates those beautiful ridges on the finished product.
- Buttermilk storage: I collect the buttermilk in a glass jar and refrigerate it immediately for use in tomorrow’s bread or pancakes.
I learned many of these tips through mistakes—like the time I didn’t rinse thoroughly and my butter spoiled within days, or when I tried making butter on a hot summer afternoon and ended up with a melty mess. Each error taught me something valuable.
Flavor Creations
The ability to customize flavors is so simple with homemade butter.
For savory dishes:
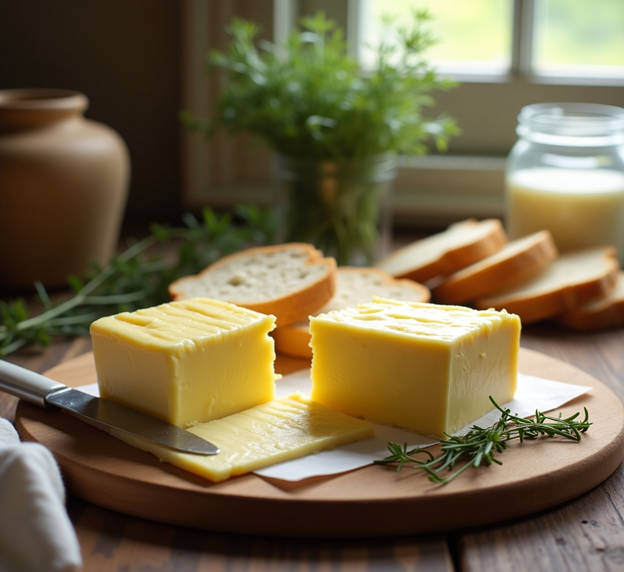
- Garlic and herb butter: Fold in roasted garlic, finely chopped parsley, and a touch of thyme. Perfect for steak or warm bread.
- Fresh herb butter: Use 2 tablespoons of finely chopped herbs from your garden: sage, rosemary, thyme, parsley, etc. and mix thoroughly to combine flavors. Use as a savory spread that elevates simple vegetables.
For sweet applications:
- Honey butter: A drizzle of local honey and a touch of cinnamon makes breakfast toast extraordinary.
- Maple butter: Whip in maple syrup and a pinch of sea salt for pancake toppings.
I store regular butter and these flavored butters in small ramekins, labeled with masking tape or another small glass container that seals. I keep one or two in the refrigerator. I freeze the rest, storing in small portions on wax paper or plastic wrap and plaxing in freezer bags. This way, I always have butter on hand. There’s nothing quite like seeing a guest’s expression when they taste my butter that perfectly complements the meal.
Why I Choose Homemade Over Store-Bought
If you ask me why I prefer to make my own butter rather than buy it at the grocery store, my reasons are both practical and personal:
- I know exactly what goes into my butter. No preservatives, artificial colors, or unknown additives—just cream, salt, and occasionally herbs from the garden.
- The taste difference is remarkable. Homemade butter has a fresh, sweet cream flavor that commercial brands cannot match. The texture is different too—creamier and more spreadable at room temperature.
- The process itself provides a moment of mindfulness in my busy week. There’s something therapeutic about working with simple ingredients and watching them transform.
- I’ve calculated that for premium butter, making my own is actually economical, especially when I have cream available.
- Self-sufficiency is important on my homestead. Making butter from my own cow’s cream is one more step toward providing for myself and reducing dependence on store-bought products.
These reasons combined make butter-making worth the small effort it requires.
Butter-Making as a Social Activity
Traditionally, butter-making has been a communal activity in many cultures. Historically, communities would gather to process cream from farms, sharing both the labor and social interaction.
Today, butter-making can still serve as a community-building activity. Demonstrations at social gatherings allow participants to take turns shaking cream in mason jars while conversing. This process can produce enough butter for sharing with guests.
Educational settings also benefit from butter-making demonstrations. In classrooms studying historical practices or food science, students can participate by passing mason jars of cream and counting the shakes required to create butter. The finished product can then be sampled on bread or crackers, as well as the sweet buttermilk. This can provide a tangible connection to the lesson.
These shared experiences around a simple food staple can create meaningful connections. In the modern digital era, participating in hands-on, communal food traditions that have been practiced for generations offers a distinctive form of engagement with both food and community.
Butter and Tradition
Making butter has become more than just a culinary skill for me—it’s a practice that grounds me in tradition while allowing for creativity and connection. The satisfaction of seeing a bowl of golden butter on my table and tasting the sweet, richness—these sensory experiences deepen my relationship with food.
I don’t make butter because I have to; I make it because it brings me joy. In a world that often values convenience above all else, taking time for this simple practice feels like a small act of rebellion—a choice to slow down and engage with food in a more meaningful way.
If you’ve never experienced the transformation of cream into butter, I encourage you to try it. Start with the mason jar method—all you need is heavy cream and arm strength. Feel the change happen beneath your hands. Taste the butter that was cream just minutes before. Save the buttermilk for tomorrow’s baking project or drink it fresh.
The delight of homemade butter is accessible to anyone willing to try. It awaits, ready to become something greater than the sum of its parts. All you need to do is begin.


