About ten years ago, I attempted sourdough bread baking with little success. I watched YouTube videos and read articles about sourdough starter tips, all to no avail.. I did not know anyone who made it, so I made my own sourdough bread starter according to careful instructions. However, I could not seem to get it right. One time it would work, then the next three times, it would not. I struggled for six months, making bread, buns, and rolls that seldom rose. I kept at it because I was determined to figure it out and not be daunted.
The chickens ate quite well during this time because most of the loaves turned out flat and hard. Some bread was salvaged as French toast and croutons, but there is only so much French toast you can eat in a week.. At the time, I only knew how to make large batches. So, when the dough flopped, it wasn’t just a single loaf of bread but three or five loaves! You would think I could learn to make smaller batches. At last, I had to admit defeat.
A New Approach: Sourdough Starter Tips for Bread for Life Starter
Then I came upon the Bread for Life starter from Azure Standard. I purchased and watched the video. It is a similar starter to sourdough, and I had some initial success with my sourdough starter tips. I was finally able to make bread! After eight or nine months, I began having issues with the dough rising. I started emailing the Azure “bread tech.” I would take her suggestions, and sometimes they seemed to help, but then the techniques wouldn’t work anymore.
So, I purchased another starter, but the results only lasted a short time. Over the years, I had mixed success and would purchase new starters every so often, but I could not make bread that would consistently rise. I was discouraged and quit making bread altogether for two years. I transitioned from baking bread to buying soaked, organic grain bread at the store, believing this was as good as it gets.
Rediscovering Sourdough
We moved in 2022. As I came to know several younger ladies in our new church community, I discovered many made bread, and others were getting starters to begin their own sourdough starter tips journeys. The interest was there, but I was very unsure. I was burned out from my personal experience. I did not want to follow that path only to meet with failure a second time. Initially, the store-bought bread wasn’t so bad, but it was becoming old and not as soft or pliable as it was at first. After a year of watching and hearing, I tentatively decided to try sourdough one more time.
I was introduced to a dry/powder starter that could be rehydrated with warm water. I was grateful that someone was willing to give me their backup packet. Unfortunately, my water was too hot, and I promptly killed it. I was embarrassed and completely disillusioned. I shared a bit of my story with one of the younger ladies about what I had done, and she brought me half a cup of her starter. But she brought me something else—some essential tips and secrets that I had not heard or read before. The most important had to do with ratios.
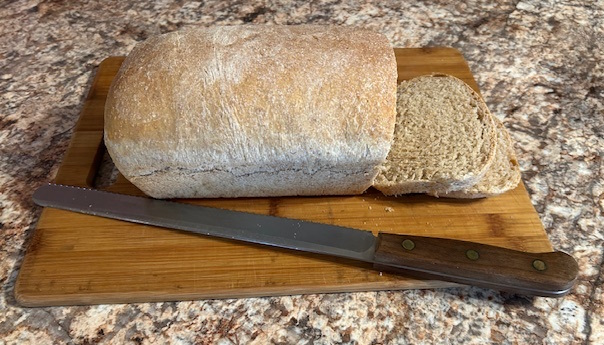
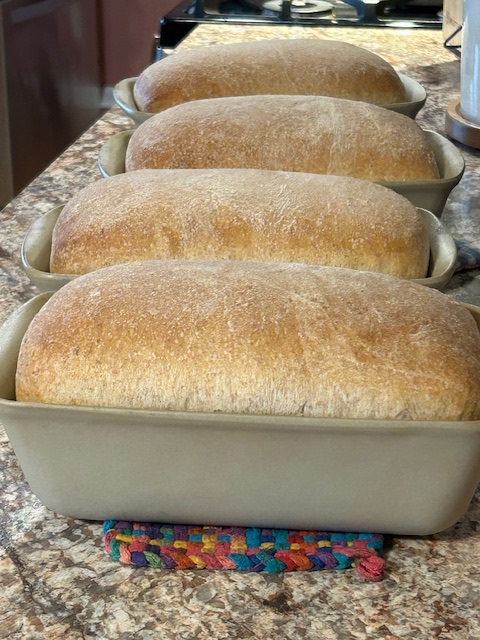
I carefully followed these instructions and, to my amazement, turned out three gorgeous loaves of bread! The bread tastes so delicious and is incredibly soft. It doesn’t have the typical sourdough flavor either. Having freshly baked bread again has been wonderful! Thanks to her wise suggestions, I always end up with beautiful loaves.
So, what are these secrets I have learned? There are several, and I will share them here with you.
The Natural Process of Sourdough Fermentation
Sourdough fermentation is a fascinating natural process driven by wild yeast and beneficial bacteria. When flour and water are combined, these microorganisms begin breaking down the carbohydrates, creating gases and acids that give sourdough its unique texture and flavor.
- Wild Yeast Activation: Unlike commercial yeast, sourdough relies on wild yeast present in the environment. These yeasts consume sugars in the flour and produce carbon dioxide, which creates air pockets in the dough and makes it rise.
- Lactic Acid Bacteria (LAB): These beneficial bacteria, particularly Lactobacillus, thrive alongside wild yeast. They produce lactic acid and acetic acid, contributing to sourdough’s tangy flavor and enhancing its nutritional benefits.
- Gluten Development: Fermentation helps break down some of the gluten proteins, making sourdough easier to digest compared to conventional bread.
- Extended Shelf Life: The natural acids formed during fermentation act as preservatives, slowing down mold growth and allowing sourdough to stay fresh longer without additives.
The Health Benefits of Sourdough
Sourdough bread is not just known for its rich taste and texture but also for its numerous health benefits. Unlike conventional bread made with commercial yeast, the fermentation process using proper sourdough starter tips enhances the nutritional value and digestibility of sourdough. Here are some key health benefits:
- Easier Digestion: The fermentation process partially breaks down gluten and starches, making sourdough easier on the stomach for people with mild gluten sensitivities.
- Better Nutrient Absorption: Sourdough reduces phytic acid, an antinutrient found in grains that blocks the absorption of essential minerals like iron, magnesium, and zinc. This makes nutrients more bioavailable to the body.
- Supports Gut Health: The presence of lactic acid bacteria in sourdough promotes a balanced gut microbiome, aiding digestion and overall gut health.
- Lower Glycemic Index: Sourdough bread has a lower glycemic index (GI) than regular white or whole wheat bread, meaning it causes a slower rise in blood sugar levels, which is beneficial for people managing blood sugar.
These health benefits make sourdough an excellent choice for those looking to enjoy a delicious, nutrient-rich, and easily digestible bread.
Essential Sourdough Secrets
1. Ratios
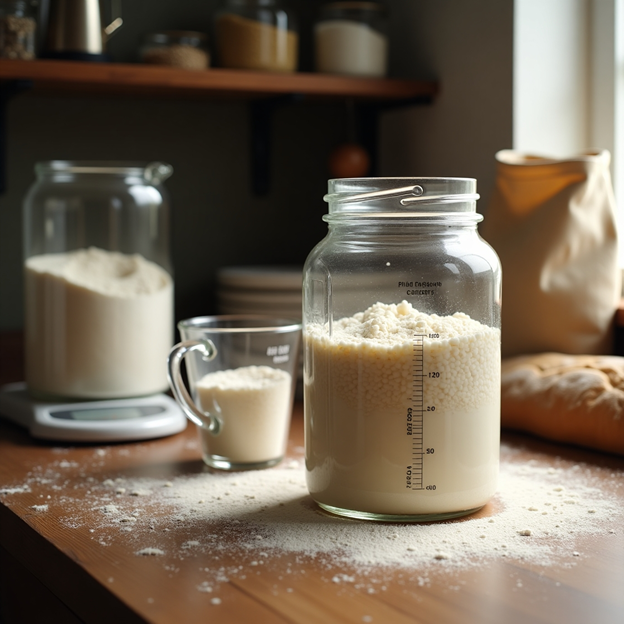
Feed the sourdough starter in a 1:1 ratio with flour and starter. If you have a ½ cup of starter, feed it a ½ cup of flour. It’s a one-to-one ratio. When I used the bread starters in the past, I added one part water and one part flour to the starter. However, she explained that I also needed to be sure there was one part starter to go along with the one part water and one part flour. If there isn’t enough starter, then it cannot grow or utilize all the flour. In essence, it will drown. These sourdough starter tips are crucial for success.
2. Flour
Unbleached all-purpose flour works best to feed the starter. Bleached flour contains chemicals that can inhibit natural yeast and bacteria growth, while unbleached flour provides more nutrients and a better environment for your starter to thrive.
3. Water
Use filtered, just-warm water. If it’s too hot, it will kill the starter bacteria. If it’s too cold, the starter cannot begin its natural rising process. Also, use less water than flour. Your starter should be more like thick pancake or muffin batter, not runny. It is important that the water is filtered. I was using hydrogenated water, and I think that may have been contributing to problems I was having. I currently have a pH water filtration system, but I am mindful to just use plain, filtered water for the bread starter.
4. Storage
Keep the starter in the fridge until ready to use. Surprisingly, the starter is stored in the fridge for most of the week, just like I was doing with the Bread for Life starter. The glass jar is changed out once a week, and sometimes I skip a week.
5. Activating
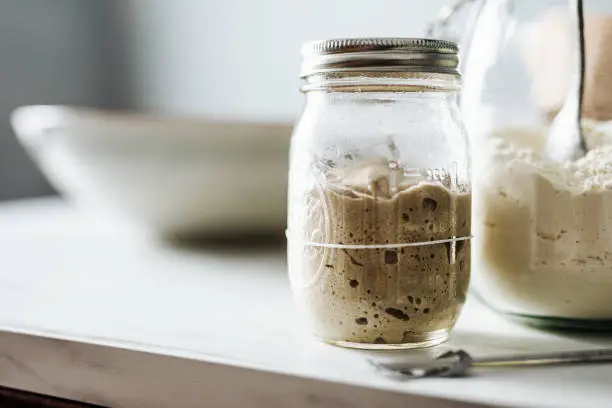
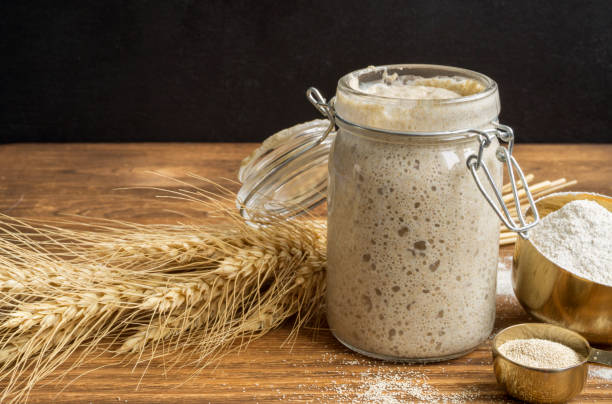
After feeding the starter, let it sit on the counter at room temperature for 8–12 hours with the lid ajar so it can “breathe.” It needs this prep time to be able to raise the dough. Be sure there is plenty of room for the starter to expand. It should double in size.
6. Feeding
Feed the starter once a week. I have successfully fed the starter and put it back into the fridge right away. Then, a few days later, I set it out and let it expand. Please note that if it does not expand, it will not have enough natural yeast to raise your bread. If this happens, add more flour and yeast and leave it on the counter to let it expand again. At this point, there may be too much flour and starter, so you may need to discard some. I try to keep a maximum of two cups on hand.
7. Flour for Dough
Use half all-purpose and half your choice of flour, like spelt, hard wheat, einkorn, etc., when making your bread dough. I attempted to use only whole wheat but did not let it sit long enough to rise completely. It needed more time than my normal loaf.
Note: It becomes more sour-tasting the longer it takes to rise.
My Bread Baking Process
A complete cycle for my bread is as follows:
- Evening: Remove starter from the fridge and feed it, keeping it on the counter with the lid ajar for 8-12 hours.
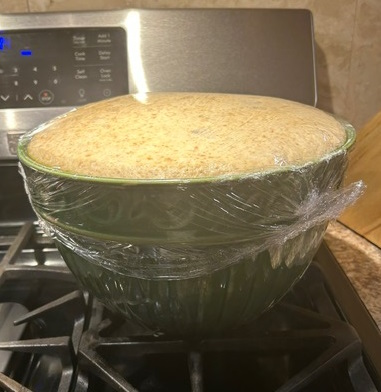
- Next Morning: Make the bread dough, place it in a stoneware bowl, and cover it with plastic wrap. Let it sit on the counter for about 8 hours until it has doubled in size.
- Evening: Place the dough into loaf pans and let it rise for approximately 2-3 hours until it is ready to bake.
Because this process spans two days, be sure to plan home days when you are baking bread.

Creative Ways to Use Sourdough Discard
Since making sourdough can involve discarding some starter, here are some great ways to use leftover sourdough discard to reduce waste:
- Pancakes
- Waffles
- Crackers
- Pizza crust
- Biscuits
- Muffins
Using sourdough discard in different recipes adds flavor and enhances digestibility. Instead of wasting excess starter, try incorporating it into these delicious recipes
Troubleshooting Common Sourdough Starter Problems
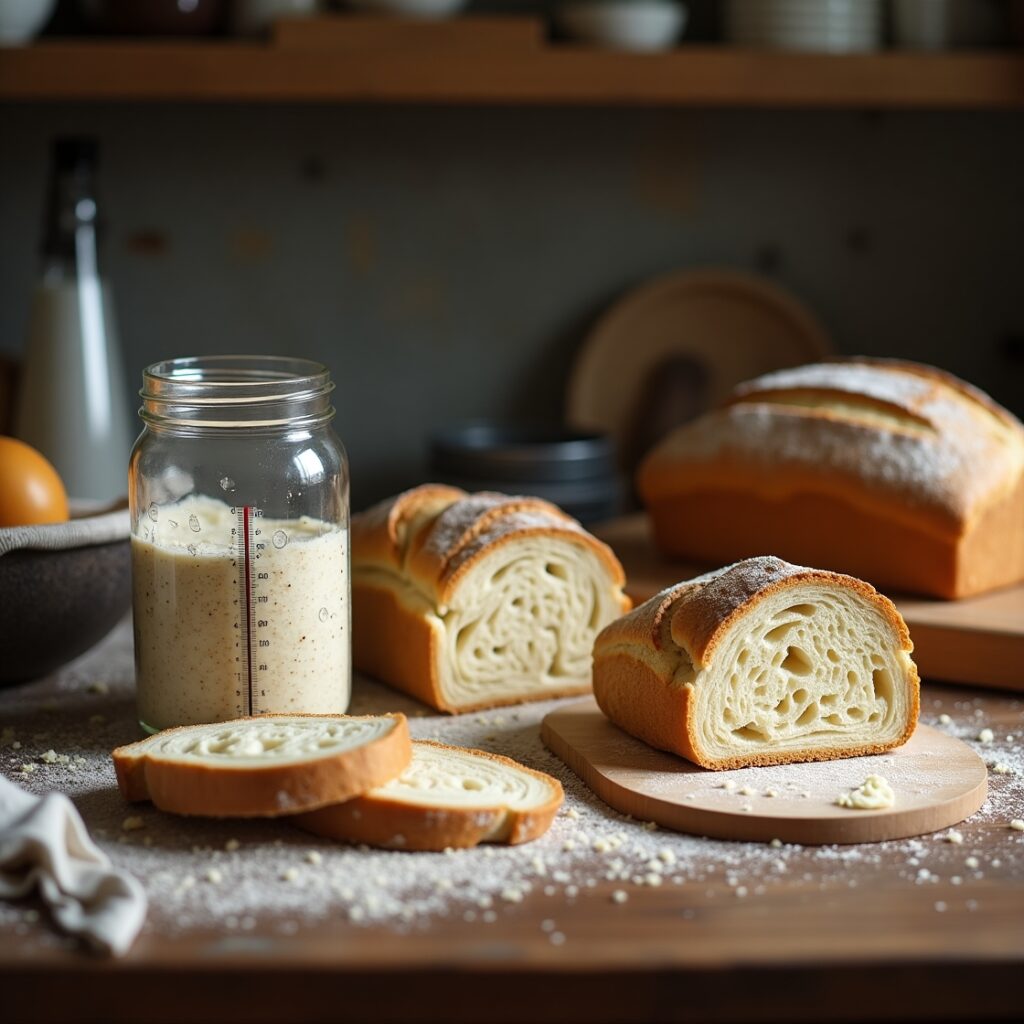
I am thankful I have finally found the right path on my sourdough journey. Many bakers face common issues along the way. Here are some typical problems and solutions to help you troubleshoot your sourdough:
- Starter isn’t rising: This could be due to cold temperatures, inactive starter, or chlorinated water. Try moving your starter to a warmer spot in your kitchen, feeding it more frequently to build strength, or using filtered water instead of tap water. If your starter is still sluggish, try discarding all but a tablespoon and feeding it with fresh flour and water at the proper 1:1:1 ratio.
- Overly sour bread: Longer fermentation times produce more sour flavors. For milder bread, reduce bulk fermentation time or use a younger starter (one that’s just reached its peak rather than one that’s been sitting for many hours). Using white flour in your starter can also reduce sourness compared to whole grain flours.
- Dense, heavy loaves: This common problem is often caused by insufficient gluten development, under-proofing, or poor shaping technique. Consider incorporating stretch-and-fold techniques during bulk fermentation to build strength in the dough. Make sure your dough is properly proofed—it should increase in size noticeably and feel airy when gently pressed.
- Sticky, unmanageable dough: This usually indicates too much hydration for your flour type or experience level. Adjust the water-to-flour ratio by starting with lower hydration doughs (around 65-70%) and working your way up as you gain experience. Keep your hands and work surface lightly floured, and incorporate bench rest periods to help the dough become more manageable.
- Flat bread with no oven spring: This could result from over-proofing (dough sat too long and exhausted its rising power) or insufficient surface tension during shaping. Learn to recognize proper proofing indicators—the dough should spring back slowly when poked. Practice creating tension when shaping your loaves, and consider using a Dutch oven for baking, which creates steam and helps with oven spring.
- Cracked crust: If the top of your bread is cracking in unpredictable ways, your dough might be drying out during proofing. Keep it covered with plastic wrap or a damp cloth, or try scoring the top with a sharp blade before baking to control where the expansion happens.

Remember that sourdough baking is as much art as science. Keep notes of what works and what doesn’t in your specific environment, and don’t be afraid to make adjustments based on what you observe. With practice and patience, you’ll develop an intuitive feel for your sourdough.
Final Thoughts
After years of persistence and learning, I have finally found the pathway to creating sourdough bread that consistently rises and tastes delicious. What began as a frustrating experience of flat loaves and feeding chickens with my failures transformed into reliable success through proper ratios, patience, and technique.
The key discoveries—the 1:1:1 feeding ratio, proper starter activation, and understanding the natural fermentation process—have made all the difference in creating bread that’s not only flavorful but nutritionally superior.
Sometimes we need to shift from the ordinary. It’s not bad to try alternatives that can benefit our bodies. Traditional sourdough offers digestive benefits and nutrient availability that modern bread simply cannot match. We have to learn how to embrace change while listening to our bodies.
The extra time and care that sourdough requires mirrors what our health deserves—attention, patience, and respect. Remember, life is happier when we nurture both mind and body, creating harmony through the foods we choose to prepare and consume.
Whether you succeed the first time or struggle like I did, keep learning and experimenting. Happy baking!
