

Hello! Today, I am excited to share with you two of my favorite summer recipes that truly embody the spirit of homesteading. These recipes are perfect for those scorching days when the last thing you want to do is slave over a hot stove. These dishes not only make use of our seasonal bounty but also remind me of the joy and satisfaction that comes from creating meals with ingredients we’ve grown ourselves. I’ve got two delicious recipes that’ll have you spending less time in the kitchen and more time relaxing under the big oak and enjoying the cool breeze.
Recipe #1: Super Simple Taco Salad
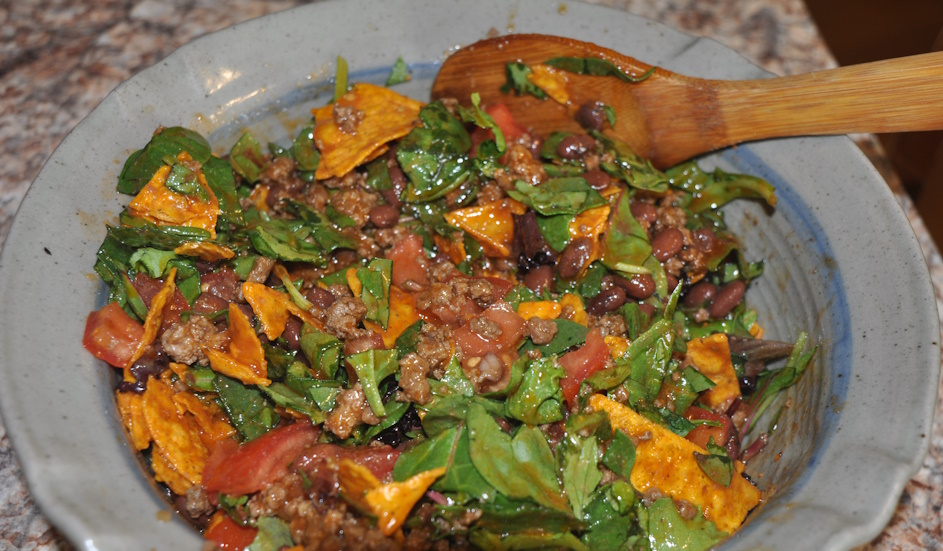
My Super Simple Taco Salad is a family favorite and a staple at our table. It brings together so many elements of our homestead – from the grass-fed beef we raise to the vegetables from our garden.
Ingredients (serves 6-8):
- 1 lb grass-fed ground beef
- 1 small red or yellow onion, diced
- 2 tbsp homemade taco seasoning (recipe below)
- 1/3 – 2./3 cup filtered water
- 1 small head of lettuce, shredded (buttercrunch is my favorite)
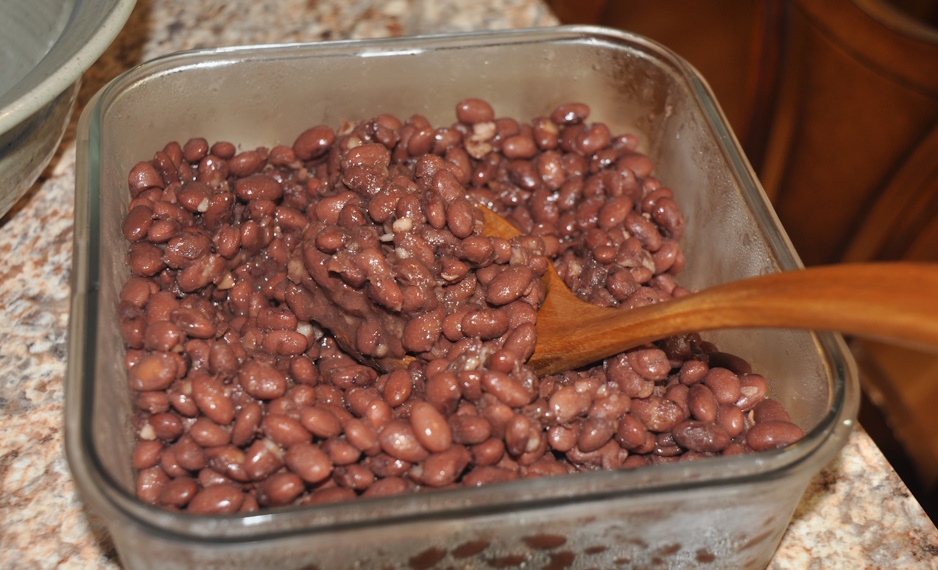
- 2 cups black beans or kidney beans (cooked from dried beans)
- 2 cups ripe tomatoes, chopped
- 1 ripe avocado, diced
- Choice of homemade salsa or Catalina dressing (recipes below)
- 2 cups raw milk cheese, shredded
- Nacho-flavored tortilla chips

Homemade Taco Seasoning:
- 1/8 tsp Cheyenne pepper
- 1/8 tsp black pepper
- 2 1/2 tsp garlic powder
- 5 tsp paprika
- 1 tbsp sea salt
- 1 ½ tbsp ground cumin
- 1 tbsp onion flakes
- 2 tbsp chili powder
I mix all these ingredients and store them in a small Mason jar. You may also double or quadruple the batch. It’s so convenient to have on hand, and I love knowing exactly what’s in it – no mysterious additives or preservatives!
Quick Homestead Salsa:
- 4 ripe tomatoes, diced
- 1 small onion, finely chopped
- 1-2 jalapeños, seeded and minced (adjust to taste)
- Juice of 1 lime
- Salt to taste
- 1/4 cup fresh cilantro, minced (optional)
This salsa is a breeze to make and tastes so much better than store-bought. Plus, it’s a great way to use up excess tomatoes!
-OR-
Tasty Catalina Dressing
This dressing is best if made at least one day ahead of time. Keep refrigerated. Add all ingredients to blender and thoroughly combine:
- 1/3 cup olive oil
- ½ cup raw apple cider vinegar
- ½ cup canned tomatoes with ¼ cup juice
- ¼ cup honey
- 1 green or ¼ cup yellow onion
- 1 tsp paprika
- 1 ½ tsp sea salt
- 1/8 tsp white pepper
- Small toe garlic
FYI – the more juice, the runnier the dressing.
Putting the Taco Salad Together:
- Brown ground beef in cast-iron skillet. Add 2-3 tablespoons homemade taco seasoning and water. Simmer 10-15 minutes until water evaporates.
- While the meat is cooling, I begin working with the veggies. If you have veggies on hand, head out to the garden to harvest the lettuce, tomatoes, jalapeno, and/or green onion. It is satisfying to pick your dinner just minutes before eating it.
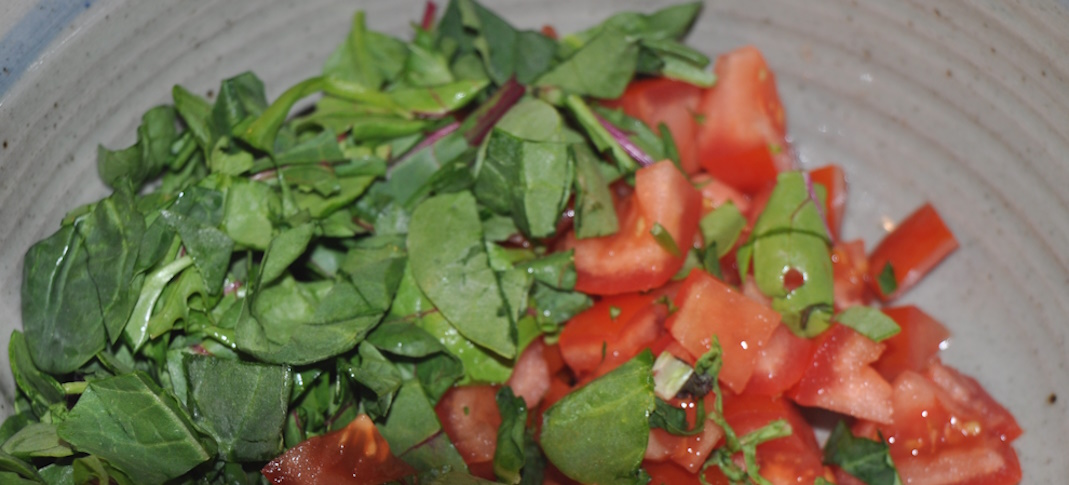
- Back in the kitchen, I combine the lettuce, beans, and tomatoes in our big wooden salad bowl – a wedding gift that’s seen many family meals. I chop the avocado and place into a small serving bowl.
- I gently toss the cooled beef with the vegetables in the large salad bow. The vibrant colors are a testament to the freshness of the ingredients.
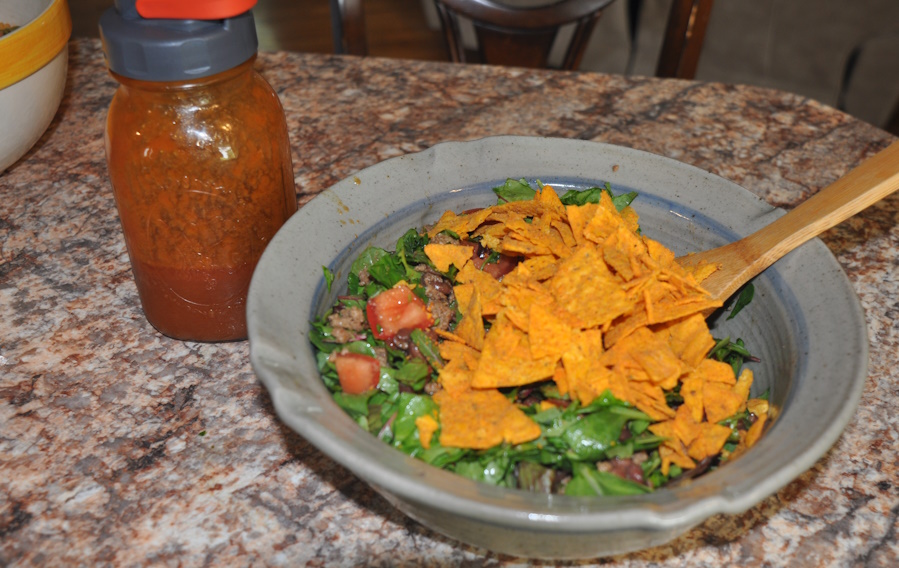
- Dressing versus salsa: I typically use the Catalina dressing as a topper, but for a change of pace, the salsa is a fun substitute. Feel free to explore them both and see which is your family favorite. Either will enhance your salad for a dynamic flare.
- When it’s time to serve, set out the toppings: dressing/salsa, sour cream, avocado, cheese, and chips. I let everyone assemble their own bowls. It’s fun to watch the different combinations people come up with. My husband piles on the extra avocado, while my daughter goes heavy on the dressing.
- If there are leftovers, store the base salad in the fridge separate from the toppings to help maintain freshness. No one likes a soggy chip.
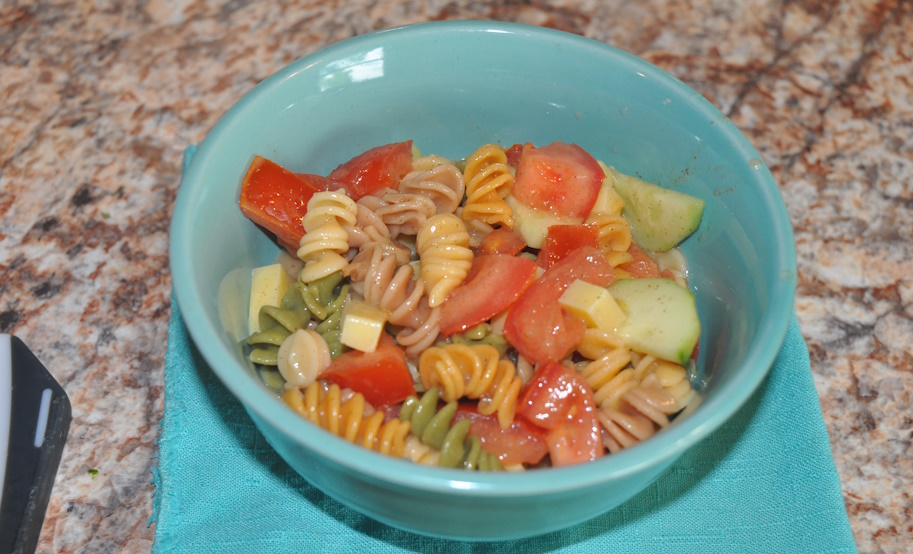
Recipe #2: Cucumber Pasta Salad with a Twist
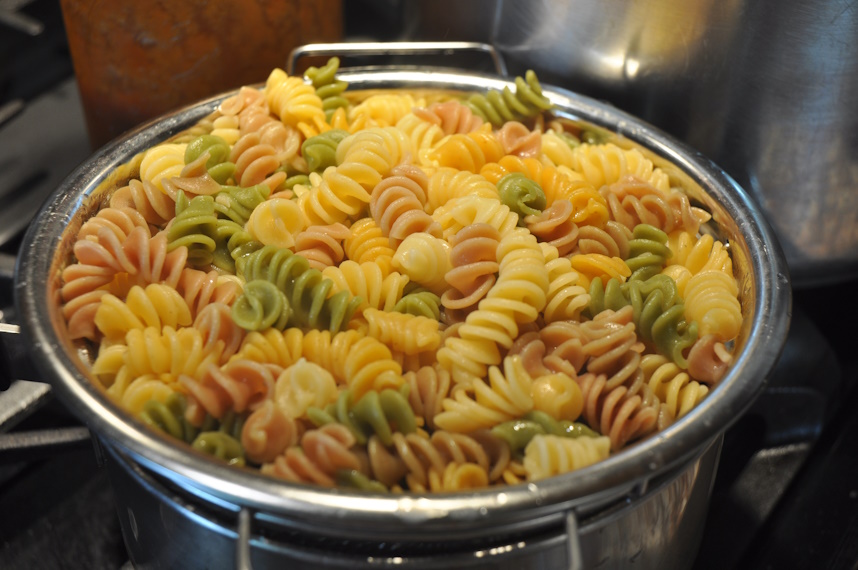
When the summer heat is at its peak, there’s nothing quite like a cool, refreshing pasta salad. The twist? We’re using veggie spiral pasta that creates a colorful display combined with a dressing that has a pick-me-up zing.
Ingredients (serves 6-8):
- 1/2 lb spiral vegetable pasta (uncooked)
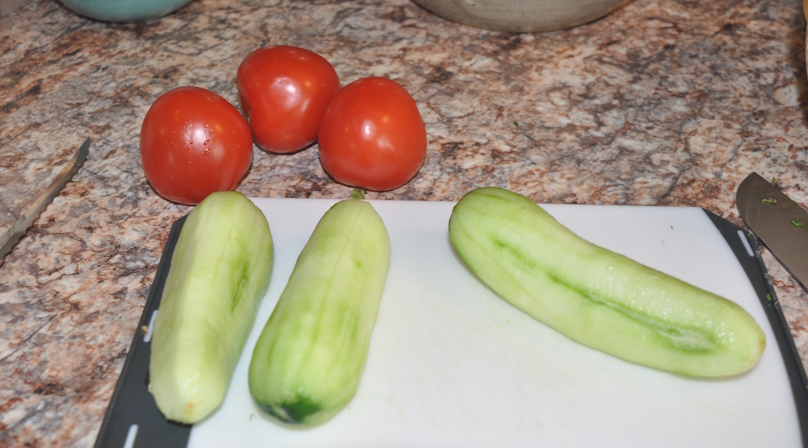
- 2 seedless, English cucumbers, peeled & sliced
- 2 cups ripe tomatoes, chopped
- 1/2 cup fresh cheese curds, about ½” cubes
- ½ – 1 cup Easy Zesty Italian Dressing (recipe below)
For the dressing:
- 2/3 cup grapeseed oil
- ½ cup raw apple cider vinegar
- 1 tbsp water
- 1 ½ tsp dried onion flakes
- 1 ½ tsp dried oregano
- 1 ½ tsp sea salt
- 1 tsp garlic powder
- 1 tsp parsley
- 1 tsp raw honey
- ¼ tsp dried basil
- 1/8 tsp dried thyme
- Pinch of white pepper
Let’s Get Twist-It:
- Making pasta from scratch would be ideal, but I have yet to explore that path. So… macaroni package instructions vary quite a bit. Some instructions overcook your pasta, leaving it mushy and some are definitely not done enough. For this fun, summer pasta recipe, we do not want it overcooked or the pasta will not hold up in the dressing.
- While the pasta is doing its thing, chop the cucumbers and tomatoes and place into a big bowl.
- Next cut the cheese into ½” cubes and add to the veggies.
- In a small bowl, whisk together the zesty dressing ingredients. Taste and adjust as needed. This is your moment to shine as a dressing maestro!
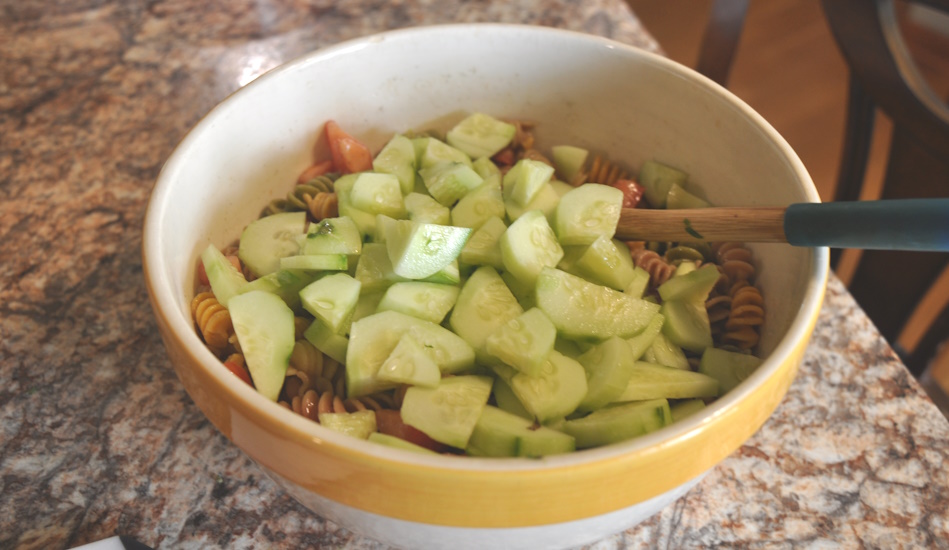
- Once the pasta is cooked and cooled, gently toss it in the big bowl with all those wonderful goodies you just chopped.
- Re-whisk if necessary and pour the dressing all over until it looks moist but not sitting in dressing. Then give it a good mix. Make sure every spiral is coated in that tangy, zesty goodness.
Chill pasta salad in the fridge for at least an hour before serving. This gives all the flavors a chance to mingle. Do a quick, careful toss just before serving. This pasta salad has become our go-to dish for summer potlucks and picnics. It is easy to double or triple for large crowds, and it travels well.